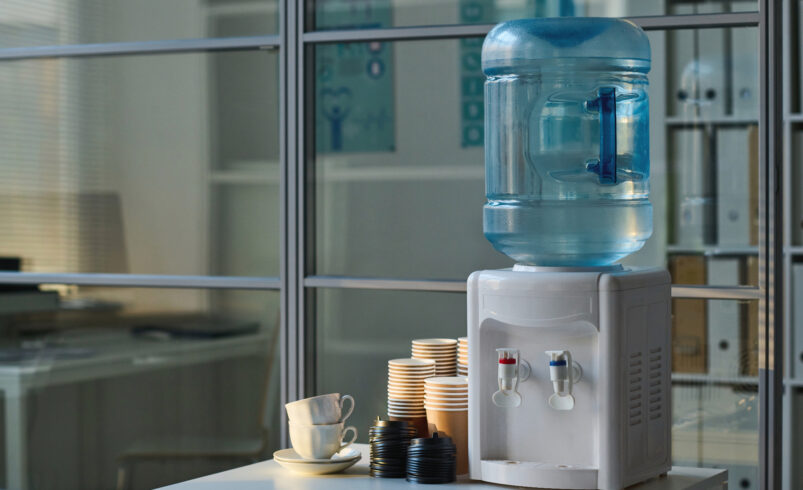
🧴 DIY Water Dispenser Fixes & Maintenance Checklist
- July 18, 2025
- 0
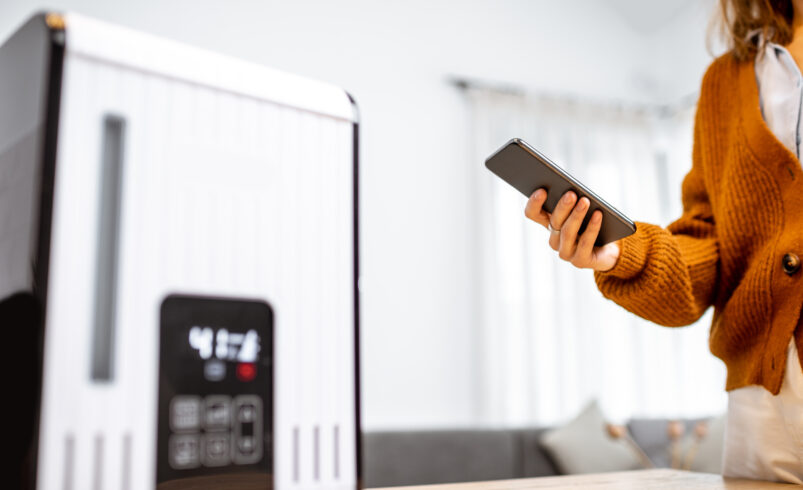
A water dispenser is a convenient luxury—cold water on a hot day, hot water for tea in seconds. But like any appliance, it requires regular cleaning and upkeep
Max Mustermann Musterstraße 12 12345 Musterstadt Germany (Deutschland)
A water dispenser is a convenient luxury—cold water on a hot day, hot water for tea in seconds. But like any appliance, it requires regular cleaning and upkeep