🧹 Why Your Robot Vacuum Won’t Charge — A Testergate Troubleshooting Guide
The purpose of robot vacuums is to make life easier — cleaning up the floors so that you can do other things.
However, what do you do when your vacuum won’t charge or dies just minutes after getting back on the dock?
Don’t worry, this is more common than you possibly think, and most of the time, you can resolve it on your own with no professional assistance.
This guide will go through the most common reasons your robot vacuum won’t charge, and we will provide you with step-by-step solutions to power it back up.
Whether it’s a dock issue, a lack of power, or something more serious — we’ve got answers for you.
⚠️ Typical Reasons Why a Robot Vacuum Won’t Charge
1️⃣ Dirty Charging Connections
Over time, dust, pet hair, and dirt will buildup on the robot and dock’s charging connections, which will prevent the vacuum from transferring energy properly.
2️⃣ Docking Incorrectly
Sometimes you can get the robot to sit in the dock only to discover that the alignment isn’t correct, causing charging to not happen.
3️⃣ Defective Power Source or Adaptor
Sometimes, it’s not the robot experiencing any problems.
Sometimes, a dead wall outlet or body on the robot’s power cord/charger can be the problem.
4️⃣ Battery Wear or Age
All rechargeable batteries wear out over time.
If your robot is older, it may simply not hold a charge anymore.
5️⃣ Software Glitch or Firmware
Sometimes software issues or incomplete firmware updates will cause you to lose the ability to charge.
6️⃣ Blocked Sensors or Blocked Wheels
If you have properly cleaned your charging contacts, the cliff sensors or drive wheels may be blocked or dirty, which may make it difficult to get the vacuum to dock properly.
7️⃣ Base Station Damage
There may be damage to the charging dock, or the base station may have a damaged circuit or worn part that prevents it from providing power.
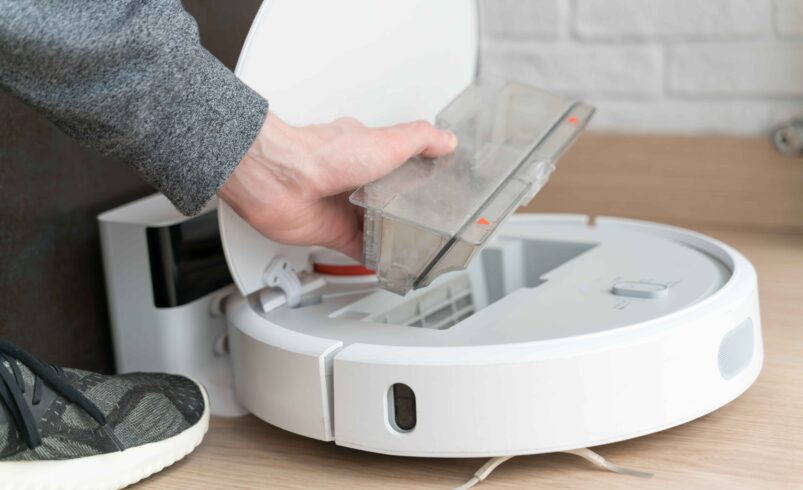
✅ 1. Properly Clean the Charging Contacts
Utilize a dry cloth, or a clean cotton swab, and plunge it in a really little sum of rubbing alcohol, and clean the charging metal pins on the dock and vacuum.
Let it dry completely and give it a try.
✅ 2. Check the Vacuum Docking Alignment at the Charging Base
You can manually set the vacuum on the charging base and see if the charging indicator light turns on.
If the light turns on, you can modify the robot vacuum in whatever way it needs to ensure it is positioned properly on the charging base.
💡 Pro-Tip:
Some robots will make a soft “beep” sound or slightly change the light sequence when charging begins, so listen and see if you can hear or see this.
✅ 3. Test Outlet/Wall Socket and the Power Adapter (Power Adapter)
Unplug the charging base and plug it into a new outlet/wall socket.
You can test if the outlet is functioning by plugging in another item (ex. phone charger).
Inspect the power adapter for twist, damage, or burn marks — if you see anything like that, replace your adapter immediately.
✅ 4. Inspect and Clean Sensor
Carefully flip vacuum over and clean the sensor you see with a delicate bristle brush or microfiber cloth — be beyond any doubt to clean the cliff (edge) sensors!
In case those sensors were messy, the robot vacuum may never be able to dock and would fair dodge it.
✅ 5. Reset Robot Vacuum
Most robot vacuums have the alternative to reset the unit, whether that’s by exchanging the reset Türkçe button.
✅ 6. Update the Software (if app-enabled)
If your model is compatible with an app, check for firmware or software updates.
Many firmware updates will have included number of bug fixes, and most will have included battery and charging fixes.
✅ 7. If All Else Fails, Try a Hard Reset
Unplug the base station, if possible remove the battery, wait 10 minutes, and then plug everything back in.
Sometimes a hard reset can help with the perpetual communication issue between electrical devices.
✅ 8. Check the Battery (if removable)
Take the battery out and look at it for:
Bulging or swelling
Corroded terminals
Loose connection
If it looks damaged or is 2 – 3+ years old, replace the battery.
✅ 9. Replace The Charging Dock
If everything checks out but the vacuum will still not charge, you might be required to buy a new dock.
Sometimes standard use will wear out the docks or produce physical damage, such as from power surges.
🔍 Why is Testergate Advice Reliable?
At Testergate, we take troubleshooting seriously.
Our team tests products in real-life scenarios and builds solutions based on actual use cases, not just theory.
If your robot vacuum is misbehaving, there is a good chance we have encountered the same challenge or problem, tested various fixes, and documented it.
There is no brand affiliation, thus you can be assured that the instructions presented on this website are:
Whether it is smart vacuums, kitchen gear, or tech devices,
Testergate is your trusted source for useful product or repair advice.