Save Hundreds: DIY Fixes for Common Home Tech Issues
- June 12, 2025
- 0
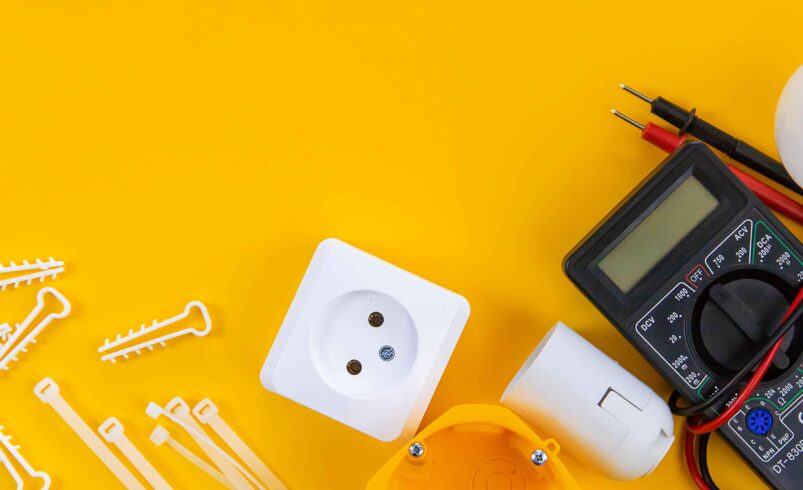
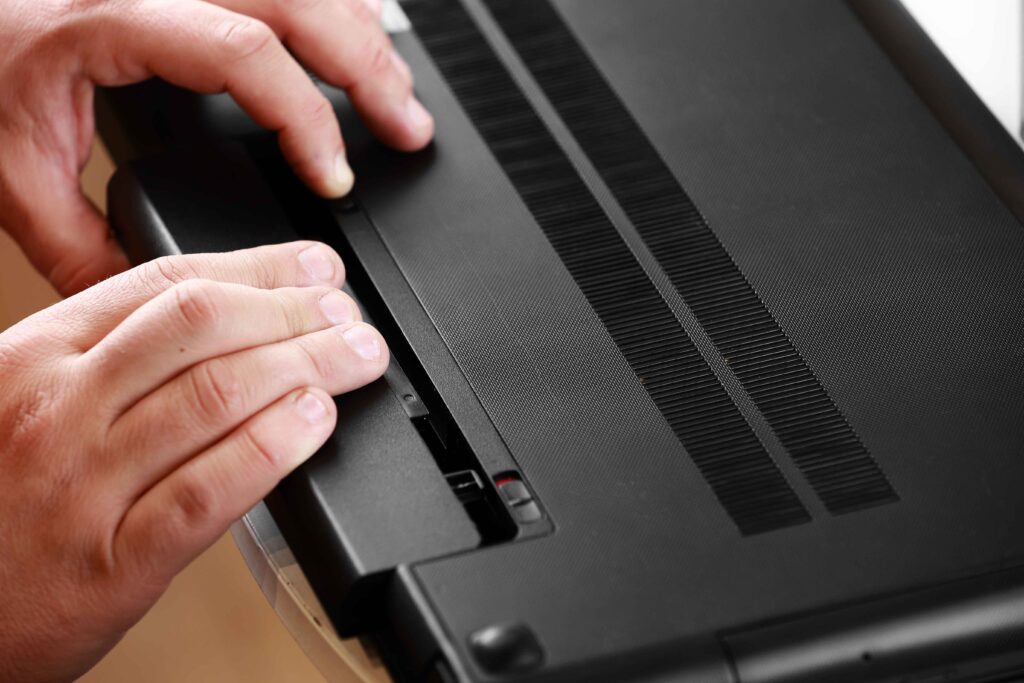
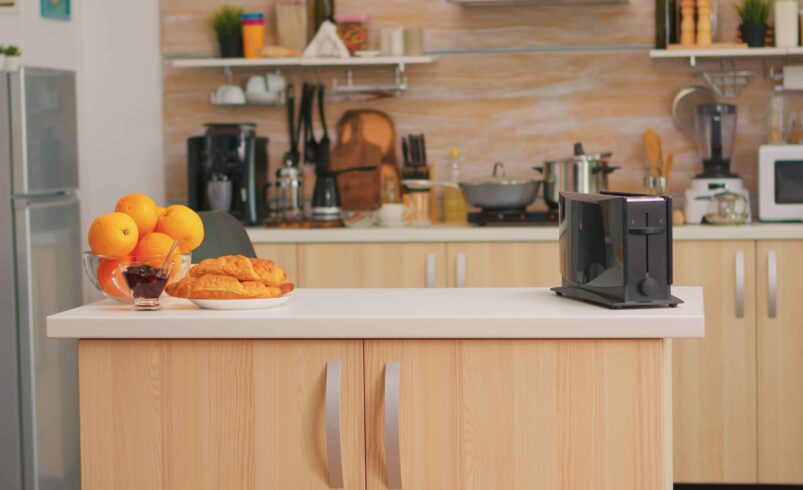
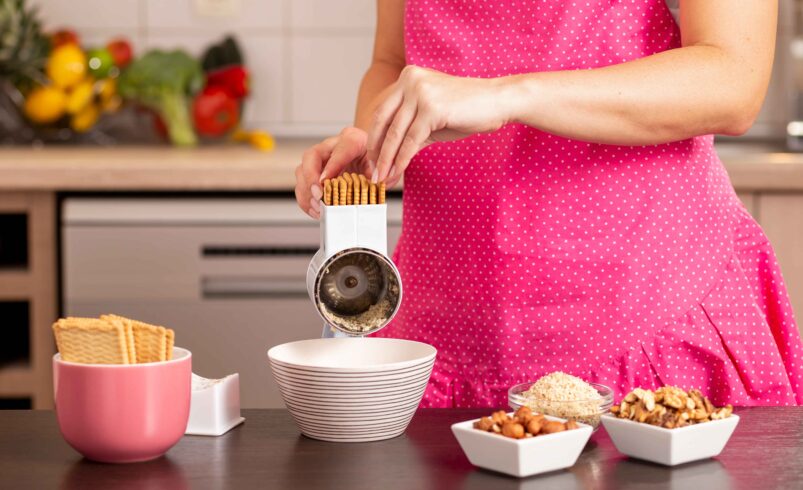
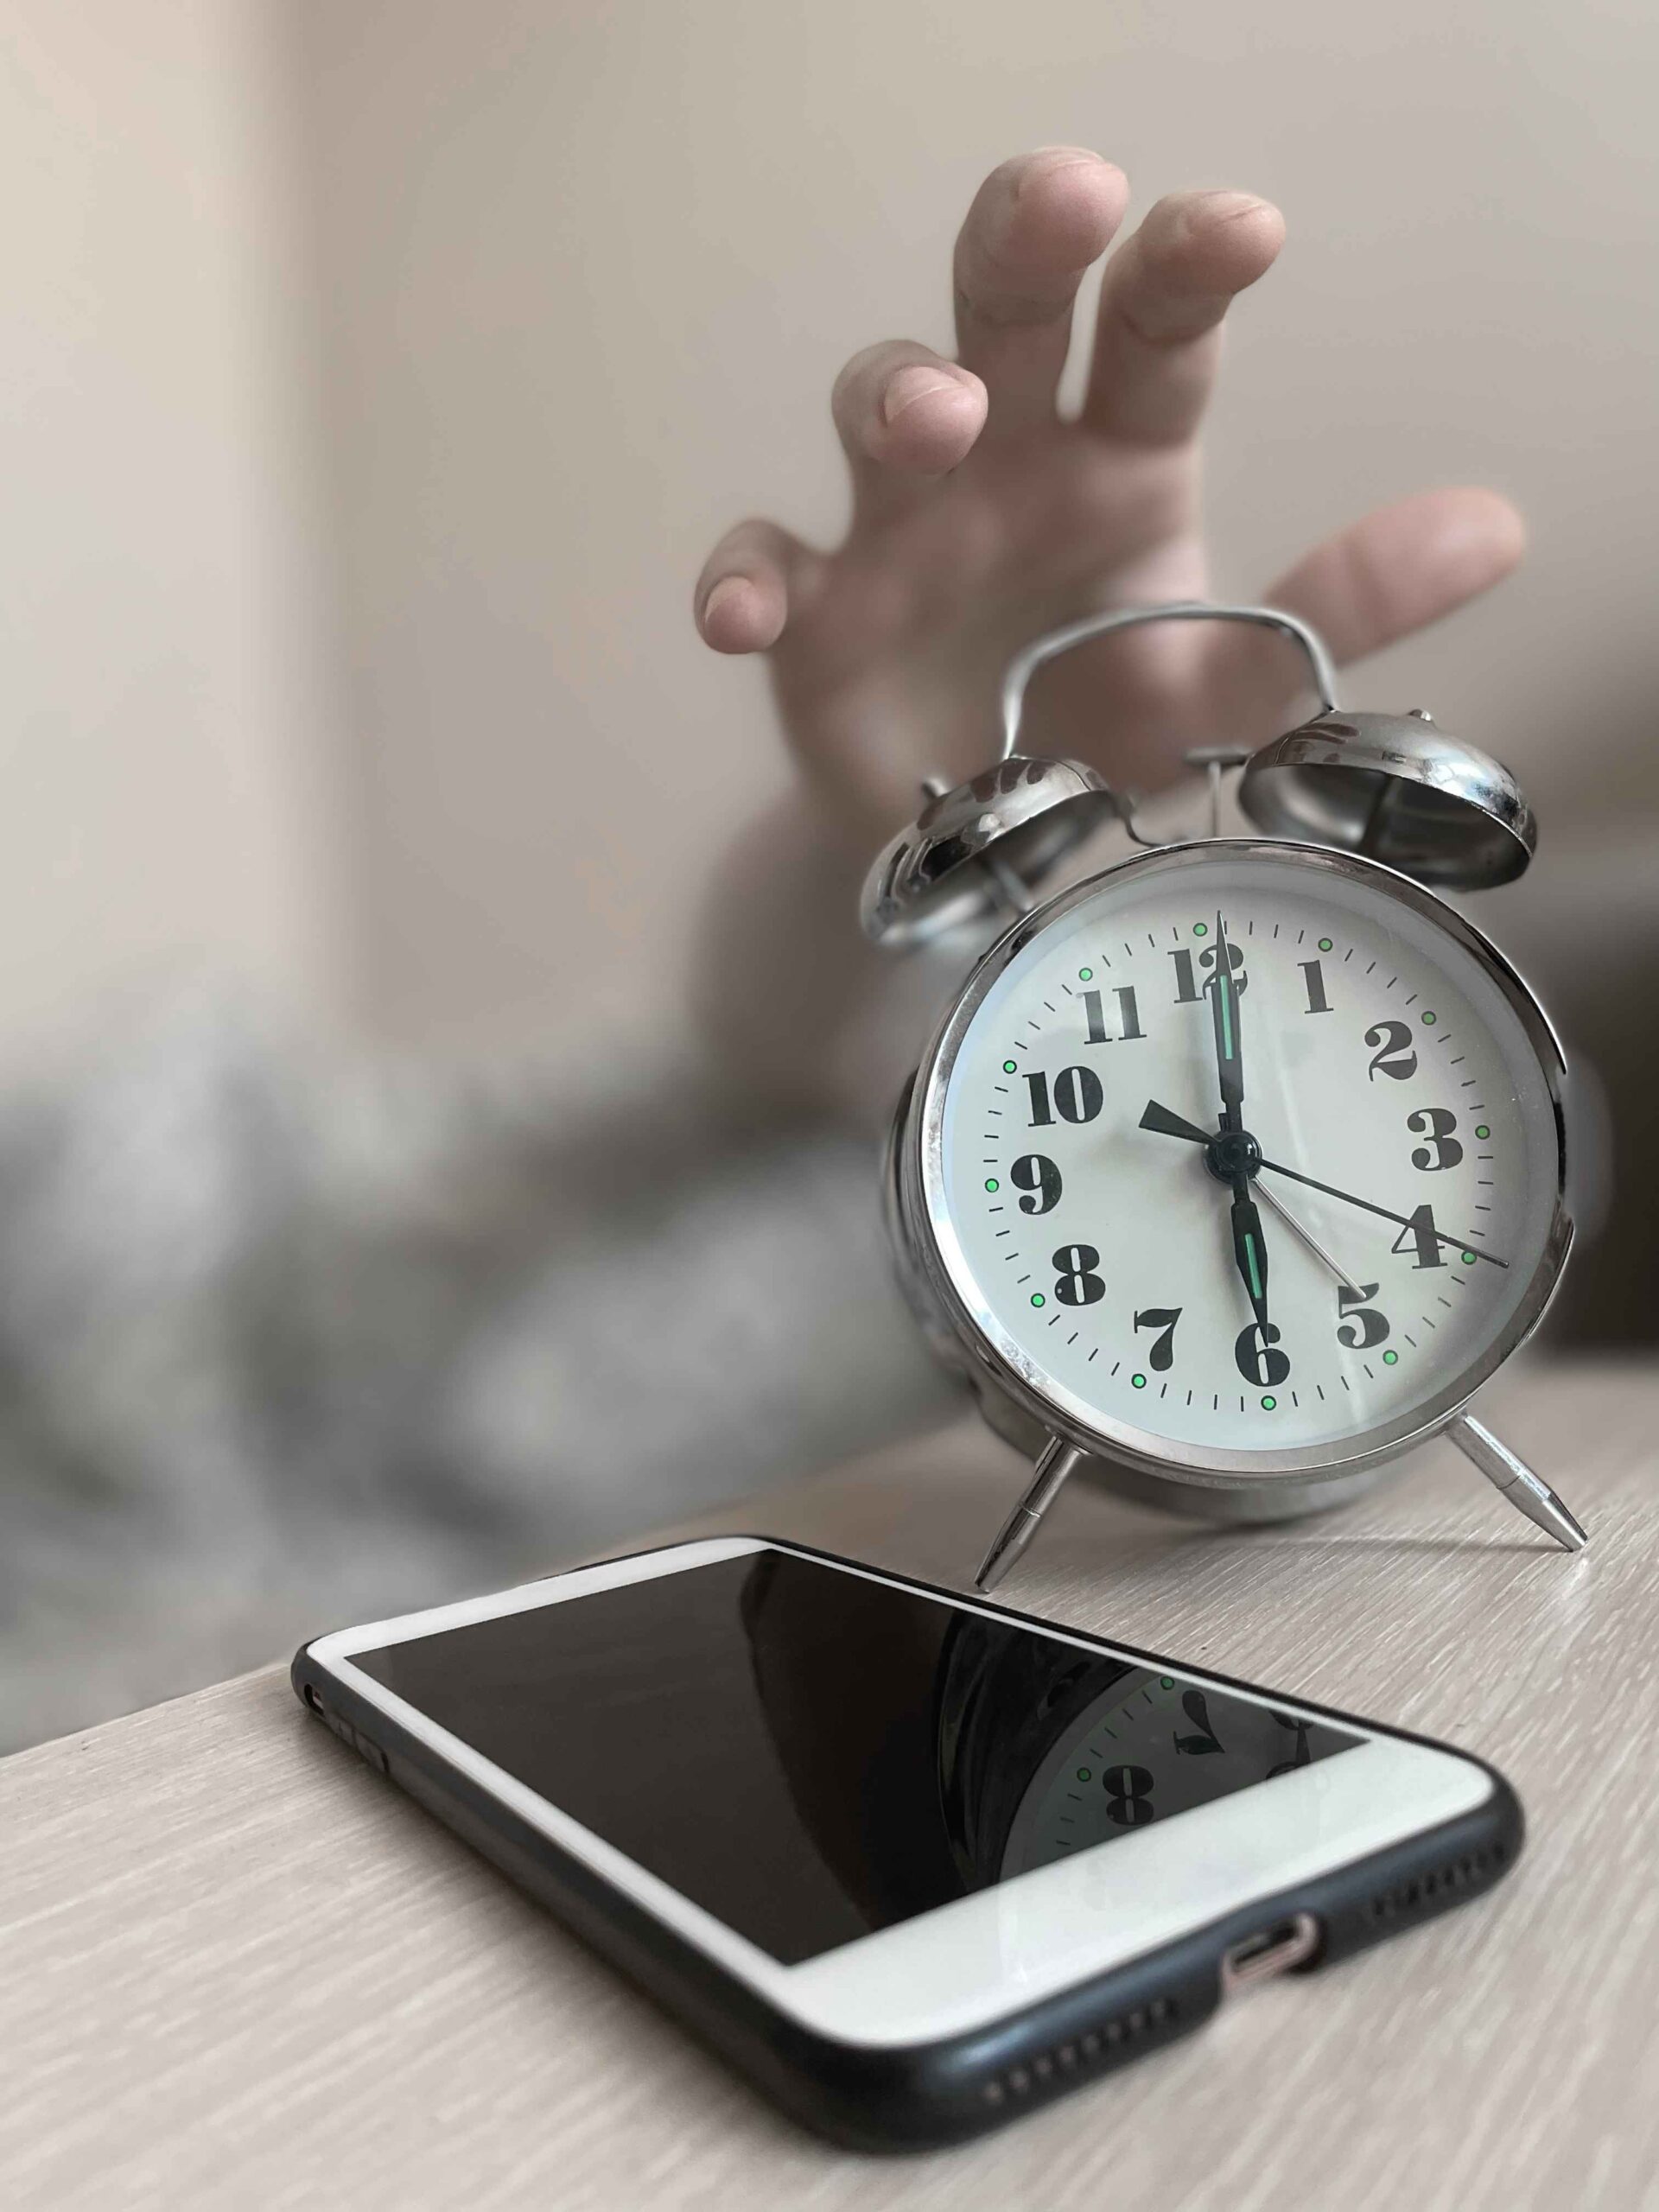
Technological Devices Are Pervasive in Our Lives From the living room to the kitchen, bedroom, and even bathrooms, tech is everywhere.But when your favourite tech fails to power
From the living room to the kitchen, bedroom, and even bathrooms, tech is everywhere.
But when your favourite tech fails to power on, the solution can seem far away and expensive.
At Testergate, we subscribe to the idea that there are often solutions to simple issues that shouldn’t cost hundreds of dollars—either in repairs or replacements.
This guide will walk you through 8 common home tech problems, breaking down:
What likely causes these issues
How you can fix them without needing:
Brand-specific knowledge
Expensive or expert-only tools
You’re streaming a movie, joining a virtual meeting, or browsing the web—and suddenly everything grinds to a halt. Pages won’t load, the video keeps buffering, and you’re left wondering: Is it me or the internet provider?
Reposition your router: Place it in a central, elevated location, away from walls, corners, or thick furniture that blocks signals.
Limit background bandwidth use: Disconnect unused devices like smart TVs or idle smartphones—they quietly hog bandwidth.
Switch frequencies: Change from 2.4 GHz to 5 GHz. It’s less crowded and delivers faster speeds in shorter ranges.
Boost the signal: Try DIY reflectors (aluminum foil or old CD cases) placed behind your router to redirect and amplify the signal.
No extra apps or hardware needed
Fast, no-cost solutions
Often shows immediate improvement
Won’t fix issues caused by outdated routers or poor ISP service
Some fixes require admin access to your router’s settings
🔎 TesterGate Tip:
Restart your router weekly to keep it running clean and avoid bandwidth memory clutter.
Your laptop once powered through a full workday—but now, it taps out after just a couple of hours, even when you’re only checking emails or editing documents.
Lower screen brightness to reduce energy usage instantly.
Disable Bluetooth and Wi-Fi when not actively in use—they quietly drain power.
Close background apps you’re not using (check Task Manager or Activity Monitor).
Activate Battery Saver mode on Windows/macOS—it limits non-essential background activity.
Try battery recalibration:
Charge to 100%
Let the battery fully drain
Charge back to 100% uninterrupted
This can help the system accurately read battery capacity and improve performance across many models.
No need for tools or replacements
Can extend overall battery lifespan
Immediate energy-saving results
Doesn’t solve issues from physically damaged or worn-out batteries
Recalibration takes time and patience
🔎 TesterGate Tip:
Use airplane mode during writing sessions or video playback to reduce background power use and stay focused.
Your TV turns on just fine, but the screen looks like a fuzzy nightmare. Whether it’s pixelated images, odd colors, or washed-out contrast—nothing looks how it should, and your binge night is ruined.
Wipe the screen with a dry microfiber cloth. Dust buildup or smudges can make the display look far worse than it is. (Avoid using cleaning sprays.)
Reset picture settings to factory default. Try “Cinema” or “Standard” modes—they often provide more natural, balanced color.
Check HDMI connections: Unplug and firmly replug all cables to make sure they’re fully seated.
Test other HDMI ports: A faulty port can distort video. Switching ports can instantly resolve the issue.
Try a different input source or device to rule out the TV itself.
Boosts visual clarity with zero cost
Helps isolate the issue (TV vs. cable/device)
Skips the need for immediate technician help
Doesn’t fix deep internal hardware damage
Older or burned-out screens may show little to no improvement
🔎 TesterGate Tip:
If you often stream in 4K, ensure both your HDMI cable and port support HDMI 2.0 or higher—or you’ll never get the picture quality you’re paying for.
The Problem:
Last week it worked flawlessly, but now your Bluetooth speaker won’t pair—or worse, the audio keeps cutting out mid-song or call. It’s frustrating when tech that once “just worked” suddenly doesn’t.
DIY Fixes to Try First:
Reset the speaker by holding the power or pairing button for 5–10 seconds. (Refer to the user manual for your specific model.)
On your phone or laptop, “forget” the speaker in Bluetooth settings and then re-pair it from scratch.
Keep the speaker and device within 3–5 feet of each other during pairing—distance affects signal strength.
Move the speaker away from signal-blocking obstacles like microwaves, metal surfaces, or Wi-Fi routers.
Pros:
Simple solutions fix most pairing issues
No apps, cables, or expert tools needed
Compatible across most Bluetooth speaker brands
Cons:
Reset steps vary between models, which can cause confusion
If internal hardware is damaged (e.g., battery or antenna), DIY steps may not work
TesterGate Tip:
If your speaker allows multipoint pairing, disable it when troubleshooting. Connecting to multiple devices at once can interfere with a stable connection.
The Issue:
You open the camera to capture a moment, but everything appears blurry, foggy, or just off. You’ve wiped the screen, but the problem remains—it’s likely the lens, not the display.
DIY Fixes to Try First:
Use a lint-free microfiber cloth to gently clean the camera lens. Avoid using household cleaners—if needed, use a lens-safe solution or dampen the cloth slightly.
Tap on the area of the screen you want to focus on. Many smartphone cameras allow manual focus with a single tap.
Close the camera app entirely and relaunch it. If that doesn’t work, restart your phone.
If you suspect a light crack or scratch on the lens, you can apply a small piece of clear tape as a temporary measure to restore image clarity. This is not a long-term solution but can help in a pinch.
Pros:
Immediate photo quality improvement
Addresses common non-hardware issues like dirt, fingerprints, or app glitches
Doesn’t require professional repair or tools
Cons:
Does not fix physical lens damage (cracks or deep scratches)
Tape trick is only a temporary workaround and should be removed after use
TesterGate Tip:
Always keep a lens wipe in your bag or wallet—it can make the difference between a blurry photo and a perfect shot when it matters most.
The Issue:
Your printer has ink in the cartridge, but your pages come out blank, streaked, or missing key portions of text and images.
DIY Fix:
Run the printer’s built-in head cleaning cycle via the software or printer menu.
Open the printer and gently wipe the printhead using a soft cloth dampened with warm water (avoid alcohol or chemical cleaners).
Remove the cartridges, shake them lightly, then reinsert to mix the ink.
Ensure the paper is dry, flat, and properly aligned in the tray.
Advantages:
Addresses common ink flow and alignment issues.
Prevents unnecessary cartridge replacement.
A simple routine maintenance method for clearer printing.
Limitations:
The process can be messy.
If the printhead is damaged or completely clogged, DIY fixes won’t restore it.
The Issue:
Your smart plug appears powered, but it won’t connect to your home app or respond to voice assistants or automations.
DIY Fix:
Unplug the smart plug for about 10 seconds, then plug it back in.
Hold the reset button for 5–10 seconds to trigger a full device reset (check the user manual for exact timing).
Make sure both your phone and the plug are connected to the same Wi-Fi network.
Avoid plugging smart plugs into overloaded extension cords or power strips, as this can interfere with performance.
Advantages:
Fixes most connection issues without deleting the device from your app.
Quick and simple to perform.
Often solves problems without needing a replacement.
Limitations:
Reset procedures can vary slightly between different brands and models.
May require re-pairing in some cases.
The Issue:
You plug in your headphones or earbuds, but only hear sound on one side—or the audio cuts in and out when you move the wire.
DIY Solution:
If the cable near the audio jack appears bent or frayed, it could be a wiring issue.
Use compressed air or a dry cotton swab to clean the headphone jack of any dust or debris.
Check your device’s audio balance settings to ensure it’s not set entirely to the left or right channel.
For wireless earbuds, make sure both sides are properly paired and fully charged.
Advantages:
Many sound issues can be fixed with simple cleaning or setting adjustments.
Helps identify whether the issue lies in the headphones or the device itself.
No need to replace gear for minor issues.
Limitations:
If internal wiring is damaged or the earbuds are sealed, replacement may be necessary.
Some headphone issues can’t be fixed without soldering or disassembly.
Not every tech hiccup means a trip to the repair shop or spending money on a replacement. With a little knowledge, some basic household tools, and a calm approach, you can often solve many common home tech problems yourself—saving time, money, and frustration.
At Testergate, we believe in empowering you with trustworthy, easy-to-understand solutions. Whether it’s boosting performance, maintaining your devices, or offering repair guidance, we’re here to help you become a confident and capable home technology user.
Start with basic troubleshooting—cleaning, restarting, resetting, or adjusting settings. If the issue persists after these steps or involves hardware damage (burning smell, cracked components, repeated failures), it may be safer and more cost-effective to consult a technician. For most software, connection, or minor performance problems, DIY fixes are safe and often successful.
Simple maintenance tasks like cleaning, updating software, or resetting devices won’t affect your warranty. However, opening devices, tampering with internal parts, or using unauthorized tools can void it. Always check your warranty terms and try non-invasive solutions first.
Keep a microfiber cloth, cotton swabs, compressed air can, a small screwdriver set, isopropyl alcohol (for gentle cleaning), and a multimeter (for advanced users). These inexpensive tools can help resolve most everyday tech issues safely.
Regularly clean your devices, keep software updated, unplug rarely used gadgets during storms, and avoid overloading power strips. Also, don’t ignore early warning signs like overheating, strange sounds, or performance drops—early fixes prevent bigger issues.